2025 Panfish Marathon
•
NY Boating Certificate Requirement & Courses
Home
Area Info
About Black Lake
Invasive Weeds
Towns Around Black Lake
Area Chambers of Commerce
Area History
Fishing
2025 Panfish Marathon
The Fish of Black Lake
Invasive Weeds
Selective Harvest
Boating Tips & Tricks
Fishing Tips & Tricks
Ice Fishing
Ice Fishing Safety
Ice Fishing Equipment
Coast Guard Ice Safety
Coast Guard Ice Fishing Safety
Regulations for Anglers
Accommodations
Business Directory
Business Directory
Join the Chamber of Commerce
Contact
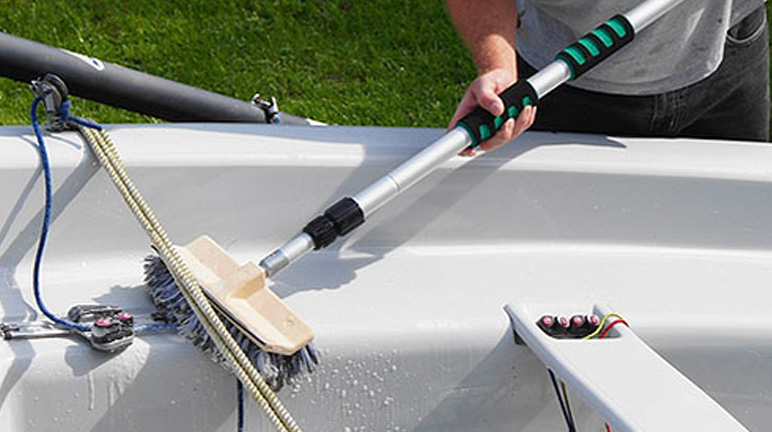
Simple Tips for Winterizing Your Fishin’ Rig
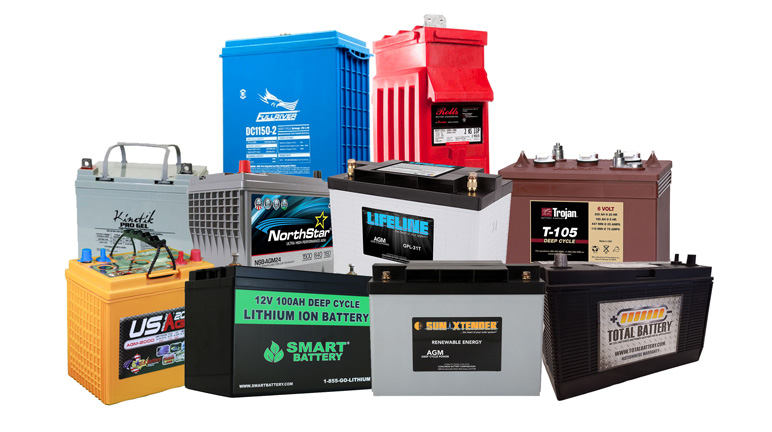
Deep Cycle Battery Tips
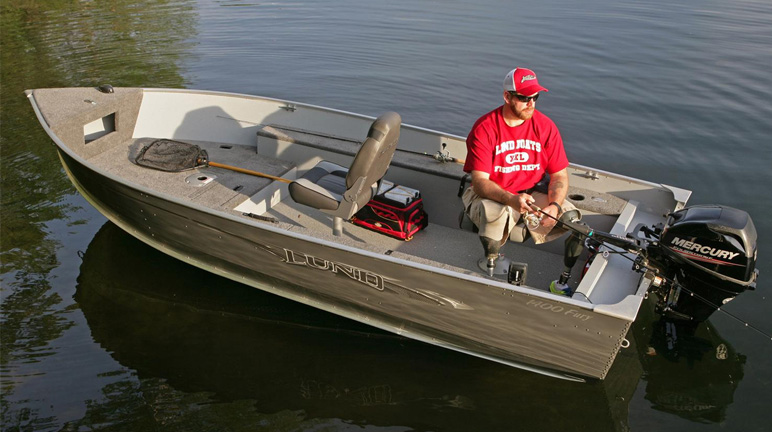
Off Season Boating
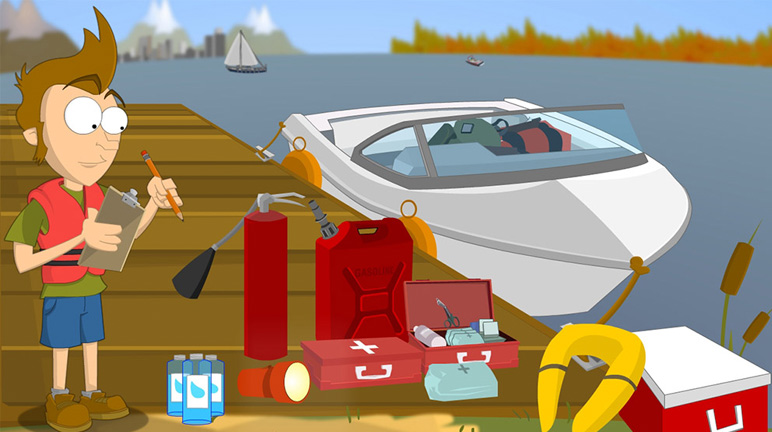
Boating Courtesy
Menu